
Why restore photo negatives with AI?
Negatives are the original master recordings of your family's photos. They hold more detail than any print and often survive when prints have been lost or destroyed. Millions of family negatives sit in envelopes and shoeboxes, including frames that were never printed. AI restoration makes it easy and affordable to recover every image.
- Recover photos from negatives when prints have been lost or destroyed
- Discover never-printed frames hiding on old negative strips
- Extract more detail from negatives than the original prints contained
- Digitize and restore your entire negative archive affordably
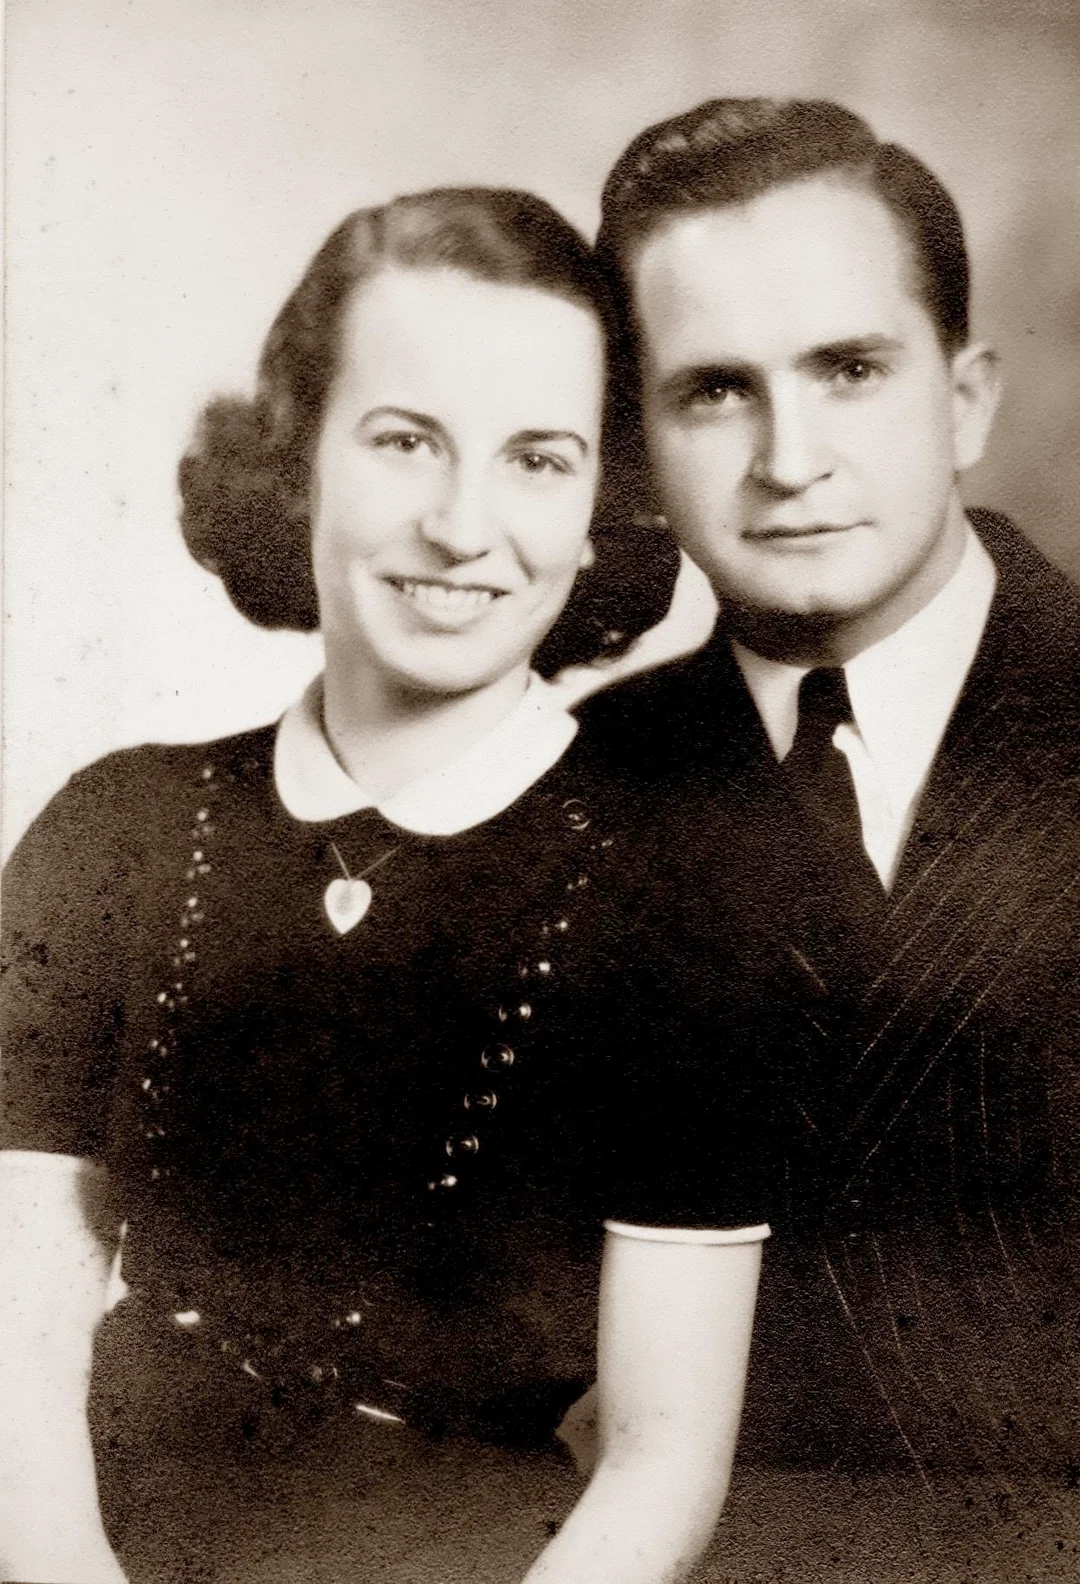
“My grandma cried when she saw her wedding photo restored. Absolutely incredible.”
Maria K.
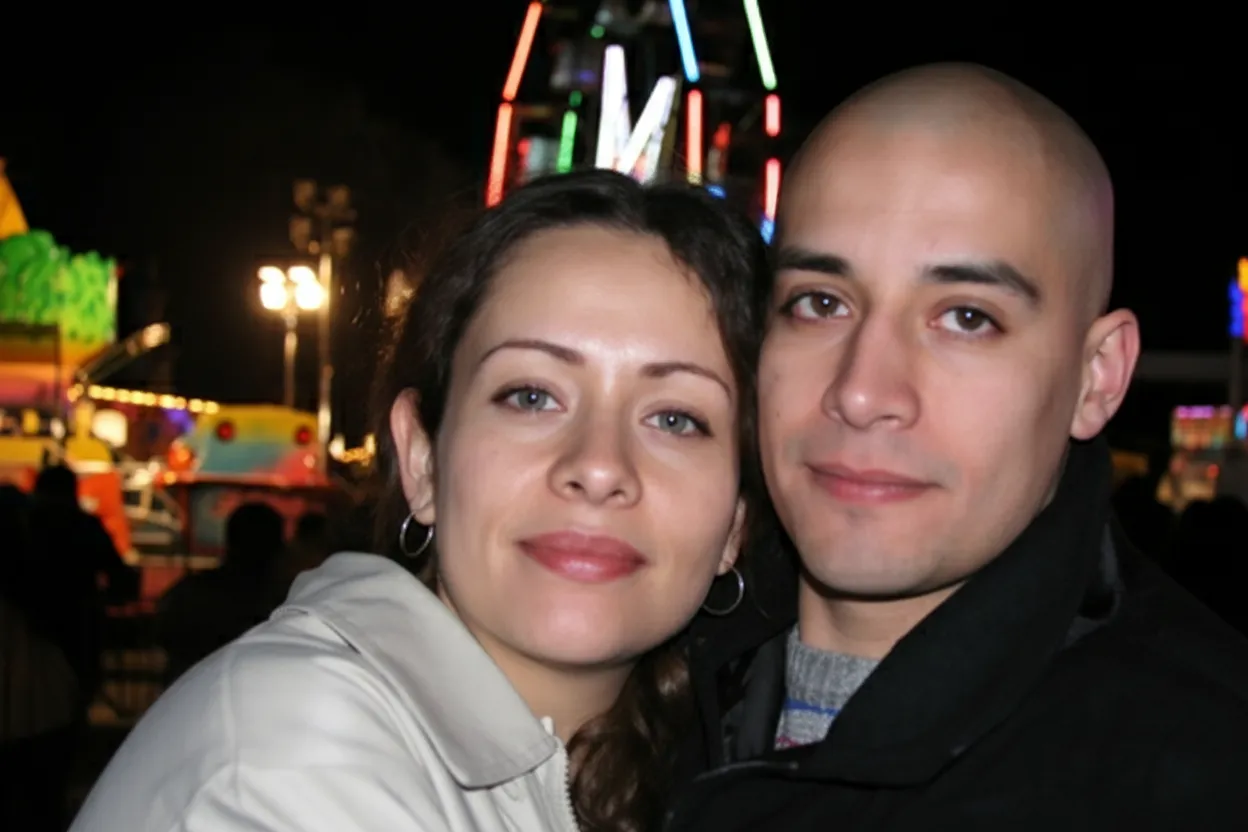
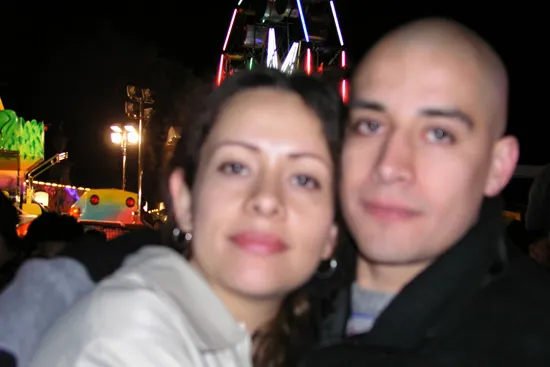
“Uploaded a blurry photo from the 70s and got back a crystal clear image. Like magic.”
James T.
“Finally recovered old family photos I thought were lost forever. So easy to use.”
Sarah M.
How it works
3 simple steps.
AI Restoration
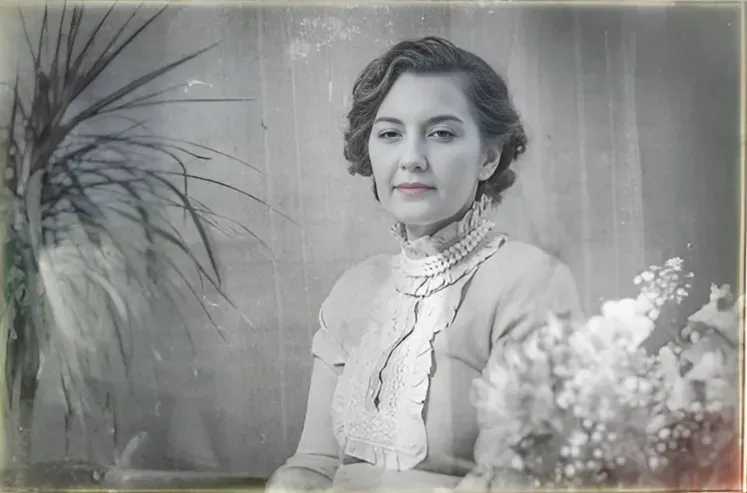
Unlock the hidden master copies.
Negatives contain more detail than any print made from them. Our AI restores faded negatives, removes scratches and dust, and recovers the full dynamic range captured in the original film.
- ✦Recovers more detail than the original prints
- ✦Removes dust, scratches, and fungus damage
- ✦Handles both B&W and color negatives

Easy to Use
Scan. Upload. Discover.
Scan your negatives with a film scanner or flatbed, upload the image, and let our AI restore color, contrast, and detail automatically. No darkroom needed.
- ✦Works with any scanned negative
- ✦Results in seconds, not hours
- ✦Download in full resolution
For Families
Discover photos that were never printed.
Most rolls of film were only partially printed. The "bad" exposures and extras were left on the negatives. Scanning and restoring them can reveal family photos no one has ever seen.
- ✦Find new family photos on old negative strips
- ✦Family plan: 150 negatives for $19.99
- ✦2 free restorations per account
In-depth guide
How to restore photo negatives: step by step
First, you need a digital version of your negative. You have several options. The best is a flatbed scanner with a transparency adapter (like the Epson V600) or a dedicated film scanner (like the Plustek OpticFilm). Set the mode to "color negative" or "B&W negative" and scan at 2400 to 4800 DPI for 35mm film. You can also photograph negatives with a smartphone or DSLR held over a light pad or bright white screen. If you do not have a scanner, take your negatives to a local copy shop or photo lab and ask them to scan the strips.
Upload your scanned negative to restorephotosapp.com and click "Restore a photo." The AI corrects fading, removes dust and scratches, and restores the full tonal range automatically in under 30 seconds. For color negatives, the scanner removes the orange mask during scanning, and the AI then corrects any remaining color shifts. For black-and-white negatives, the AI restores contrast and removes damage while preserving the full range of tones.
Negatives are the master recordings of your photos and contain more detail than any print made from them. If you have both the prints and the negatives, always scan the negatives. The AI gets more data to work with and produces a better result. This is especially true for old prints that have faded or yellowed, since the negative often holds information the print has lost.
Most film rolls were only partially printed. The photo lab usually printed the "good" shots and left the rest on the negative strip. Scanning every frame often reveals family photos that no one has ever seen: candid moments, outtakes, and scenes that seemed unimportant decades ago but are now precious. Do not skip frames just because they look dark or unclear on the strip.
The most common damage on negatives includes scratches from cameras and processors, dust embedded in the emulsion, fungus from humid storage, and color fading where dye layers degrade at different rates. The AI handles all of these automatically. You do not need to clean negatives before scanning, though removing loose dust with a soft brush or compressed air can help.
After restoration, download your images in full resolution. Create digital albums, print the best photos, or share them with family members who may never have seen these images. For long-term storage of the physical negatives, keep them in acid-free archival sleeves in a cool, dry place. Avoid PVC sleeves, rubber bands, or adhesive tape, all of which damage film over time.
Expert tips
Tips for restoring photo negatives
Scan every frame, even the "bad" ones
Partial prints were common. The frames that were not printed may include candid shots, outtakes, and moments that were deemed unimportant decades ago but are now precious family history.
Use your scanner's negative mode
Film scanners and flatbed scanners have a specific mode for negatives that inverts the image and removes the orange mask on color film. Using the wrong mode produces unusable results.
Handle film by the edges only
Fingerprints on the emulsion side of negatives are permanent. Wear cotton gloves or hold film strips by the edges and the sprocket holes only.
Store negatives in archival sleeves
After scanning, store your negatives in acid-free, archival negative sleeves. Avoid PVC plastic sleeves, which release chemicals that damage film over time. PrintFile and Clearfile make inexpensive archival options.
Check processing envelopes for dates
The original photo lab envelopes often include the processing date and sometimes the location. Keep these envelopes. They provide valuable context for organizing your family photo timeline.
Prefer negatives over prints when both exist
If you have both the prints and the negatives of the same photos, scan the negatives. They contain more detail and dynamic range than the prints and produce better AI restoration results.
Pricing
One-time pricing. No subscription. Credits never expire.
One-time payment
Starter
$0.50 / credit
Perfect for trying it out on a few precious photos.
- 10 Credits Included
- Restore 10 Photos
- High-Resolution Output
- Credits Never Expire
- Free Digital Frames
- 30-Day Money-Back Guarantee
100% Money-Back Guarantee
One-time payment
Pro
$0.50 / credit
For restoring a small album of memories.
- 30 Credits Included
- Restore 30 Photos
- High-Resolution 1080P Output
- Credits Never Expire
- Free Digital Frames
- 30-Day Money-Back Guarantee
100% Money-Back Guarantee
One-time payment
Family
$0.13 / credit
Save 74% per credit
Restore your entire family photo collection.
- 150 Credits Included
- Restore 150 Photos
- High-Resolution 1080P Output
- Credits Never Expire
- Free Digital Frames
- 30-Day Money-Back Guarantee
100% Money-Back Guarantee
One-time payment
Studio
$0.11 / credit
Save 78% per credit
For entire archives, professionals, and power users.
- 450 Credits Included
- Restore 450 Photos
- High-Resolution 1080P Output
- Credits Never Expire
- Free Digital Frames
- Priority Support
- 30-Day Money-Back Guarantee
100% Money-Back Guarantee
Prices don't include VAT.
FAQ
Frequently asked questions
Can AI restore photos from old negatives?
Yes. Our AI restores scanned negatives by correcting fading, removing dust and scratches, and recovering the full tonal range of the original film. It works with both black-and-white and color negatives.
Why are negatives better than prints for restoration?
Negatives are the original master recording and contain more detail and dynamic range than any print made from them. Restoring a scanned negative produces a better result than restoring a scanned print of the same photo.
How do I scan color negatives?
Use a film scanner or flatbed scanner with a transparency adapter set to "color negative" mode. This inverts the image and removes the orange mask automatically. Scan at 2400-4800 DPI for 35mm negatives.
Can I find unprinted photos on old negatives?
Yes. Most film rolls were only partially printed. Scanning every frame on a negative strip often reveals family photos that no one ever saw because they were not selected for printing at the time.
What should I do with old negatives?
Scan them! Negatives are the master recordings of your family photos and often contain unprinted frames. Scan every frame at 2400+ DPI, restore the best with AI, and store the originals in acid-free archival sleeves in a cool, dry place.
Can you get photos from negatives?
Yes. Scanning a negative with a film scanner or flatbed scanner with transparency adapter produces a digital image that can be viewed, printed, and shared. The scanner inverts the negative image to a positive automatically. AI restoration then corrects any fading or damage.
How do I scan negatives at home?
Use a flatbed scanner with a transparency adapter (like Epson Perfection V600) or a dedicated film scanner. Set the mode to "color negative" or "B&W negative," choose 2400 to 4800 DPI, and scan. A DSLR with a macro lens and backlight also works well for batch scanning.
Are old negatives worth keeping?
Absolutely. Negatives are the highest-quality source for your family photos and often contain images that were never printed. Even if the prints have been lost, damaged, or faded, the negatives likely survive and can produce excellent digital images when scanned and restored.
What is the difference between negatives and slides?
Negatives are inverted images (light appears dark) used to make prints. Slides are positive images (colors appear correct) for projection. Negatives use the C-41 process with an orange mask; slides use the E-6 process. Both can be scanned and restored with AI, but negatives require "negative mode" scanning.
Is negative restoration free?
You get 2 free restorations. Try them on a scanned negative and a scanned print of the same photo to see the quality difference yourself. For entire rolls and shoeboxes of negatives, the Family plan ($19.99 for 150 credits) makes it economical to scan and restore every frame, including the ones that were never printed.
How long does negative restoration take?
Under 30 seconds per frame. The AI corrects fading, removes dust and scratches, and restores tonal range in one pass. Since a typical roll has 24 to 36 frames, you can process an entire roll in about 15 minutes of active upload time.


