Why restore sepia photos with AI?
Sepia-toned photos span decades of photographic history, from the 1880s through the 1930s and beyond. The warm brown tones were originally a chemical process that also improved print longevity. Today, restoring sepia photos requires an AI that understands the difference between the intentional sepia tone and age-related damage like foxing, staining, and fading.
- Repair damage while preserving the warm vintage character
- Fix scratches, stains, and fading without losing sepia tones
- Optionally colorize sepia photos to see them in full color
- Create digital copies of fragile century-old prints
“My grandma cried when she saw her wedding photo restored. Absolutely incredible.”
Maria K.
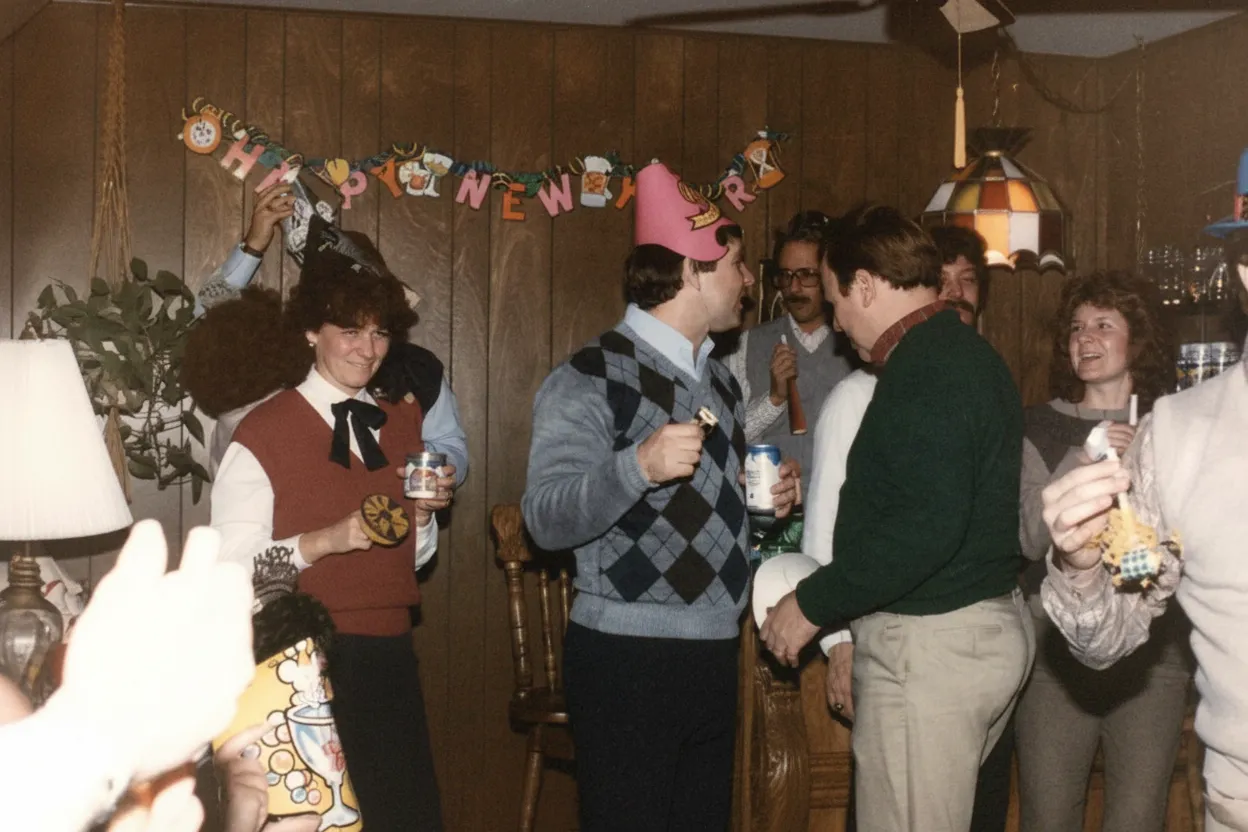
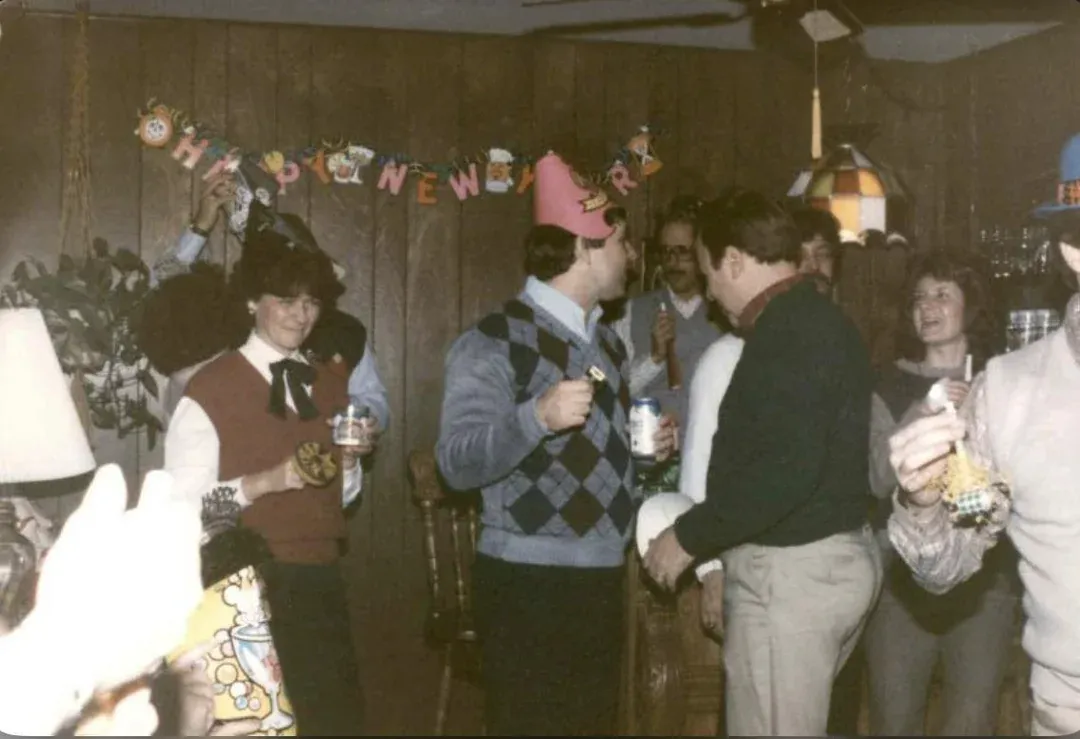
“Uploaded a blurry photo from the 70s and got back a crystal clear image. Like magic.”
James T.
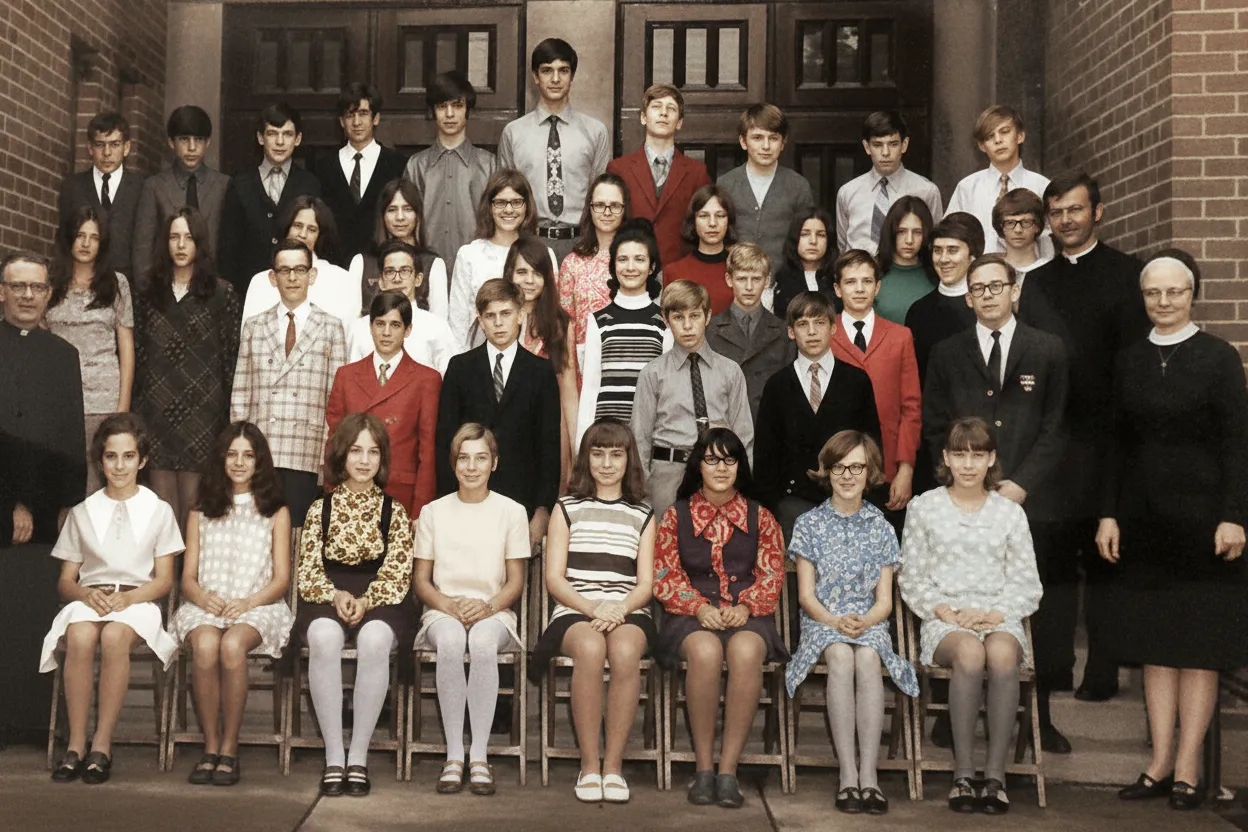
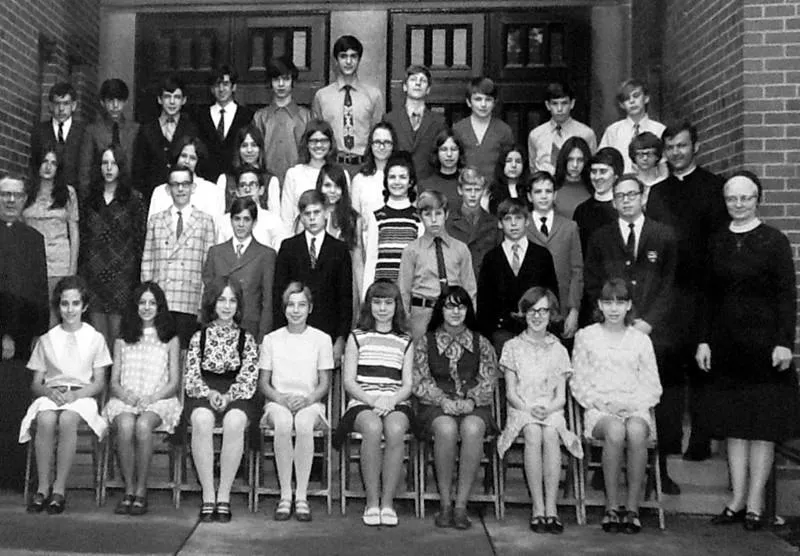
“Finally recovered old family photos I thought were lost forever. So easy to use.”
Sarah M.
How it works
3 simple steps.
AI Restoration
Fix damage without losing the warmth.
Our AI distinguishes between intentional sepia toning and unintentional damage. It removes scratches, fading, and stains while preserving the rich, warm tones that give sepia photos their vintage character.
- ✦Preserves intentional sepia toning
- ✦Removes scratches, stains, and foxing
- ✦Restores contrast without destroying warmth
Easy to Use
Upload. Restore. Admire.
Scan your sepia photograph or take a picture of it. Upload and get a restored version that preserves the vintage character in under 30 seconds.
- ✦Works with scans and phone photos
- ✦Results in seconds, not hours
- ✦Download in full resolution

For History Lovers
Preserve vintage character, or add color.
Love the sepia look? Our AI preserves it while fixing damage. Want to see it in color? Use our colorize feature as a second step to transform sepia photos into full-color images.
- ✦Restore sepia photos as sepia
- ✦Optional colorization as a second step
- ✦2 free restorations per account

In-depth guide
How to restore sepia photos: step by step
First, digitize your sepia photo. You can use a flatbed scanner at 600 DPI or higher. Scan in color mode, not grayscale, so the warm brown tones are captured accurately. You can also photograph the print with your smartphone. Use natural daylight near a window and hold the phone directly above the print to avoid shadows. Artificial lighting can shift the color temperature and make the sepia tones look off. If the print is too fragile to handle, take it to a local copy shop and ask them to scan it.
Upload your scan to restorephotosapp.com, click "Restore a photo," and let the AI work. It removes scratches, foxing (those small brown spots), water stains, and fading automatically in under 30 seconds. The key difference from generic photo editors: our AI distinguishes between the intentional warm sepia tone and actual damage. It removes the damage while keeping the warm vintage character intact.
After restoring, you have an optional second step: colorization. Our colorize feature transforms the restored sepia photo into a full-color image with realistic skin tones, clothing, and backgrounds. Sepia photos are actually the best candidates for colorization because they retain rich tonal information. Many users keep both versions: the warm sepia restoration and the colorized version.
Common damage on sepia photos includes foxing (reddish-brown spots from fungal growth), silvering (a metallic sheen on dark areas), water stains, general fading, and physical tears or creases. The AI handles all of these. If your print has multiple types of damage at once, that is normal for photos this old, and the AI addresses each type in a single pass.
If you are not sure whether your photo is originally sepia or has just yellowed with age, here is the difference. True sepia toning produces an even, consistent warm brown across the entire image. Age yellowing is uneven, often stronger at the edges, and comes with other signs of degradation. The AI evaluates this automatically and corrects accordingly.
After restoration, download the full-resolution image. Print it on archival paper, create a photo book, or share it with family. Sepia photos from the 1880s to 1930s are often the oldest photographs in a family collection, making them especially meaningful to preserve digitally and share across generations.
Expert tips
Tips for restoring sepia photos
Scan in color mode, not grayscale
Scanning in color preserves the warm sepia tones accurately. Grayscale mode discards the warm brown information, reducing it to neutral gray.
Use natural daylight for phone scans
The warm tones in sepia prints are easily affected by artificial lighting color temperature. Natural daylight near a window produces the most accurate digital capture.
Try colorization as a second step
After restoring your sepia photo, try our colorize feature to see it in full color. The rich tonal information in sepia prints produces excellent colorization results.
Handle century-old prints with extreme care
Sepia photos from the 1880s-1930s are often on brittle paper. Handle by edges only, avoid bending, and store in acid-free archival sleeves after digitizing.
Flatten curled prints gently before scanning
Old prints often curl. Place the print face-down on the scanner and gently lower the lid to press it flat. For severely curled prints, weight them under a book for a few hours first. Never force a brittle print flat. It may crack.
Check the back for inscriptions
Sepia photos often have handwritten names, dates, and studio imprints on the back. Scan or photograph the reverse side. This information is invaluable for identifying your ancestors and dating the photograph.
Pricing
One-time pricing. No subscription. Credits never expire.
One-time payment
Starter
$0.50 / credit
Perfect for trying it out on a few precious photos.
- 10 Credits Included
- Restore 10 Photos
- High-Resolution Output
- Credits Never Expire
- Free Digital Frames
- 30-Day Money-Back Guarantee
100% Money-Back Guarantee
One-time payment
Pro
$0.50 / credit
For restoring a small album of memories.
- 30 Credits Included
- Restore 30 Photos
- High-Resolution 1080P Output
- Credits Never Expire
- Free Digital Frames
- 30-Day Money-Back Guarantee
100% Money-Back Guarantee
One-time payment
Family
$0.13 / credit
Save 74% per credit
Restore your entire family photo collection.
- 150 Credits Included
- Restore 150 Photos
- High-Resolution 1080P Output
- Credits Never Expire
- Free Digital Frames
- 30-Day Money-Back Guarantee
100% Money-Back Guarantee
One-time payment
Studio
$0.11 / credit
Save 78% per credit
For entire archives, professionals, and power users.
- 450 Credits Included
- Restore 450 Photos
- High-Resolution 1080P Output
- Credits Never Expire
- Free Digital Frames
- Priority Support
- 30-Day Money-Back Guarantee
100% Money-Back Guarantee
Prices don't include VAT.
FAQ
Frequently asked questions
What is a sepia photo?
A sepia photo is a photograph that was chemically toned to produce warm brown tones instead of neutral black-and-white. The process converts metallic silver to silver sulfide, creating the distinctive warm look. It was popular from the 1880s through the 1930s.
Will the AI remove the sepia tone?
No. Our restore mode preserves the warm sepia tones while removing damage like scratches, foxing, and fading. The AI distinguishes between intentional sepia toning and unintentional damage.
What makes photos sepia?
Original sepia tone was created by a chemical bath that converted the metallic silver in a black-and-white print to silver sulfide, which is brown rather than gray-black. Modern "sepia" is usually a digital color filter, but authentic sepia photos were chemically transformed for both aesthetic warmth and improved archival longevity.
Are sepia photos older than black and white?
Not necessarily. Sepia toning was an optional chemical treatment applied to black-and-white prints, most common from the 1880s through the 1930s. Plain black-and-white photographs were made throughout the same period and beyond. A sepia tone suggests the photo is from that era but does not make it older than an untoned black-and-white photo from the same time.
How can I tell the age of a sepia photo?
Look at the print format (cabinet card, carte de visite, postcard), clothing and hairstyles, studio backdrops, and any photographer's imprint on the card or back of the print. Cabinet cards date from the 1870s to 1900s. Divided-back postcards date from 1907 onward. Clothing styles and hairstyles can narrow the date to within a decade.
Can sepia photos be colorized?
Yes, and they produce excellent results. After restoring a sepia photo with our restore mode, use our colorize feature as a second step. The rich tonal information in sepia prints gives the AI a strong foundation for adding realistic color, including skin tones, clothing, and backgrounds.
What is foxing on old photos?
Foxing is small reddish-brown spots that appear on old paper and photographs due to fungal growth or iron oxidation in the paper. Our AI removes foxing spots while preserving the underlying image and the intentional sepia tone.
Can I colorize a sepia photo?
Yes. After restoring a sepia photo, you can use our colorize feature as a second step to add realistic full color. Sepia photos produce especially good colorization results because their tonal range is rich and well-preserved.
Is sepia photo restoration free?
You get 2 free restorations. Try the restore mode first to see damage removed while the sepia tone is preserved, then try the colorize mode on the same photo to see it in full color. If you have a collection of Victorian-era or early 1900s sepia prints, credit packs start at $4.99 for 10.
How old are sepia photos typically?
Sepia toning was most popular from the 1880s through the 1930s, making most sepia photos roughly 90 to 140 years old. Some photographers continued using sepia toning through the mid-20th century, and fine art photographers still use it today.
What is silvering on old photographs?
Silvering is a metallic sheen that appears on dark areas of old photographs, caused by silver particles migrating to the print surface over time. It is most noticeable when the print is viewed at an angle. Our AI reduces the visual impact of silvering in scanned images.
How long does sepia photo restoration take?
Under 30 seconds for the restore step. The AI distinguishes the intentional warm sepia tone from damage like foxing, stains, and fading, then removes only the damage. If you also want to colorize, the second step takes another 30 seconds, giving you both a restored sepia version and a full-color version.


