On this page
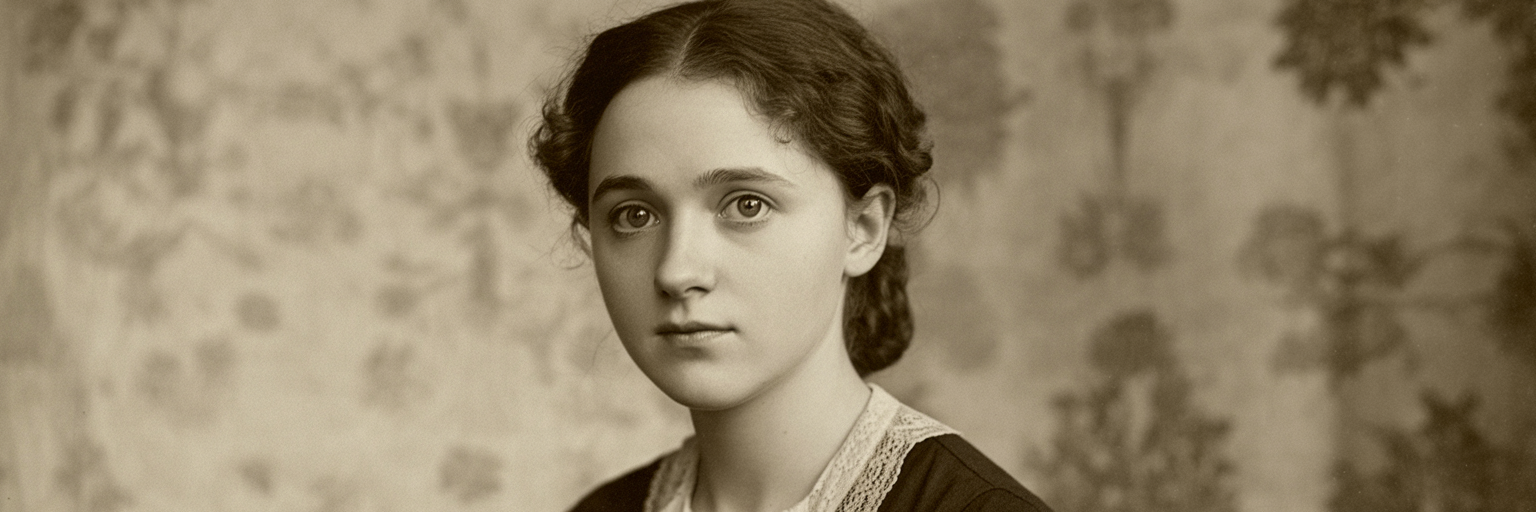
Before digital cameras made memories instant and infinite, a single photograph was a precious physical object. Today, bringing those fading prints back to life requires a delicate balance between repair and respect for their history.
Why Photo Authenticity Matters
When we decide to restore old photos, the goal is clarification, not alteration. The "original charm" of a vintage photograph is woven into its very fabric. It’s in the subtle film grain, the texture of the paper, and the unique color casts that anchor the image to a specific time and place. A slightly faded color palette from the 1970s tells a story that vibrant, modern colors would erase.
These images are direct links to our family history and personal narratives. They carry an emotional weight that makes them irreplaceable. The real objective of restoration is preserving photo authenticity by carefully removing distracting damage like cracks, stains, or tears. We want to reveal the memory hidden underneath the damage, not create a flawless image that feels disconnected from its past.
Think of it as cleaning a historical painting. You remove the dust and grime to let the original work shine through, but you would never repaint the artist's brushstrokes. The same principle applies here. Respecting the photo's character is the foundation of a truly successful restoration.
Preparing Your Photos for Digital Restoration
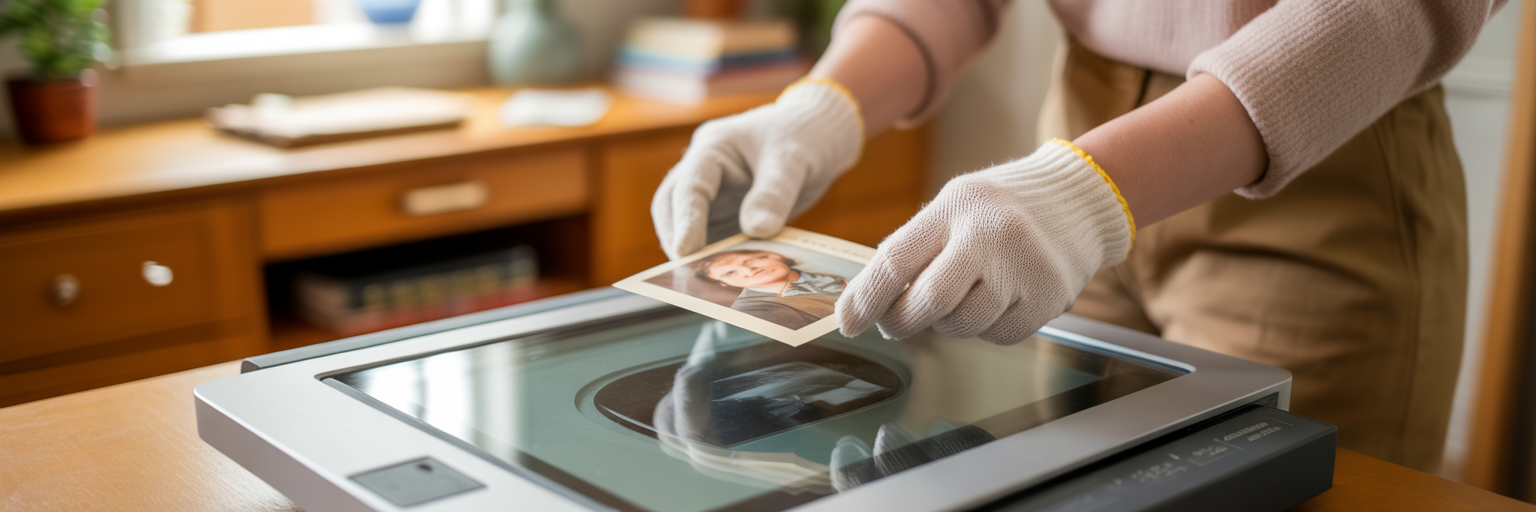
The entire restoration process hinges on one critical first step: creating a high-quality digital copy. The quality of your scan sets the absolute ceiling for your final result. A blurry or low-resolution scan simply doesn't contain the data needed for a detailed repair.
For the best outcome, use a flatbed scanner instead of a phone app. A scanner provides even lighting and captures far more detail. When you scan, save the file as a TIFF if possible. Think of a TIFF as a digital negative; it retains all the original image data without compression, giving you the most to work with. You can always create a smaller JPEG file later for sharing online.
Before scanning, gently clean the physical print with a soft, clean brush to remove any surface dust. Always handle old photographs by their edges to avoid leaving fingerprints or oils on the delicate surface. This careful preparation is the foundation for any successful old photo repair project, ensuring you start with the best possible material to restore old photos effectively.
| Original Photo Size/Type | Recommended Minimum Resolution (DPI) | Why It Matters | | --- | --- | --- | | Standard Print (4x6, 5x7) | 600 DPI | Captures sufficient detail for same-size prints and digital viewing. | | Small Print (Smaller than 4x6) | 1200 DPI | Allows for enlargement without significant quality loss. | | 35mm Slides or Negatives | 2400-3200 DPI | Negatives contain immense detail in a small area; high resolution is essential. | | Large Format Print (8x10 or larger) | 300-600 DPI | A lower DPI is often sufficient as the original is already large. |
Common Restoration Mistakes That Erase Character
The biggest fear in photo restoration is accidentally ruining a cherished memory. We’ve all seen it: a restored portrait where a beloved grandparent suddenly has waxy, doll-like skin. These mistakes happen when tools are applied too aggressively, erasing the very character we hope to preserve. Here are a few common pitfalls to avoid.
- Over-smoothing Skin: Aggressive noise reduction or blemish removal can strip away natural skin texture. This erases the fine lines and pores that make a face unique and recognizable, leaving behind a flat, artificial surface.
- Inaccurate Colorization: Applying generic, overly saturated colors can make a photo look cheap and anachronistic. Authentic colorization requires a delicate touch that reflects the muted, limited color palettes available during that era, not the hyper-vibrant tones of today.
- Losing Important Details: Sometimes, automated tools can misinterpret a subtle pattern on clothing or a texture in the background as damage. When this happens, a piece of the story gets inadvertently removed, like when you try to remove scratches from photos and accidentally blur a delicate lace collar.
- Excessive Sharpening: While a little sharpening can add clarity, too much creates harsh, unnatural edges and digital artifacts. This destroys the soft, organic quality of vintage film photography, making the image look brittle and digital.
Each of these errors stems from the same root cause: prioritizing technical perfection over historical authenticity. A great restoration knows when to stop.
Using AI for Gentle and Precise Repairs
So how do you fix damage without falling into the traps mentioned above? Modern AI photo restoration offers a precise and intelligent solution. Unlike older, blunt-force software, today's advanced AI models act more like a skilled artist with a tiny brush than a sandblaster.
These AI systems are trained on millions of diverse photographs, learning to distinguish between actual damage and original features. The technology understands that a crease across a cheek needs to be fixed, but a lifelong scar on that same cheek is part of the person's identity and must be preserved. It can recognize the texture of a wool coat and repair a tear without smudging the fabric's pattern.
This intelligence is what makes AI-powered tools so effective at preserving a photo's soul. The technology ensures that facial features, expressions, and unique characteristics remain true to the original person. It performs these complex repairs in seconds, making professional-grade results accessible to everyone, regardless of their technical skill.
The best tools balance powerful automation with a deep respect for the source material. They apply sophisticated adjustments where needed but know to leave the authentic character untouched. With our AI-powered platform, you can achieve these results without needing a complicated user interface or years of editing experience.
A Simple Workflow for Authentic Results
Putting these principles into practice doesn't have to be complicated. A clear, simple workflow can help you confidently restore your photos while keeping their original charm intact. You can follow this process right now with your own images using our free photo restoration tool.
- Upload Your High-Resolution Scan: Begin by uploading the high-quality TIFF or JPEG file you prepared earlier. A great starting file is the key to a great result.
- Select a Restoration Style: Choose the option that best fits your photo's needs. 'Restore' is ideal for general damage like cracks and fading, 'Sharpen' helps with soft focus, and 'Colorize' brings black-and-white images to life. It's often best to start with the basic restoration first.
- Review and Compare: This is the most important step for preserving photo authenticity. Place the restored image side-by-side with your original scan. Does the person still look like themselves? Are the repairs natural? Does the photo retain its vintage feel?
- Download and Preserve: Once you are satisfied that the restoration has clarified the memory without erasing its history, download the high-resolution result. It is now ready for printing, framing, or sharing, ensuring you can preserve family photos for generations to come.
Keep reading


