On this page
- Identifying Common Types of Photo Damage
- Physical Damage: Scratches, Tears, and Creases
- Chemical Degradation: Fading, Discoloration, and Stains
- Image Quality Issues: Blur, Noise, and Poor Focus
- The Emotional Impact of Photo Degradation
- Preparing Your Photos for Digital Restoration
- Why a High-Quality Scan Is Your Foundation
- Choosing Your Scanning Method: Flatbed vs. App
- Optimal Scanner Settings for Preserving Detail
- Best Practices for a Clean and Accurate Scan
- Choosing the Right AI Restoration Tool
- Fully Automated Web-Based Platforms
- AI-Powered Photo Editing Software
- Essential Features Your AI Tool Should Have
- Navigating Different Pricing Models
- A Step-by-Step Process for AI-Powered Repair
- Beyond Repair: Advanced AI Enhancement Techniques
- Bringing History to Life with AI Colorization
- Understanding the Limits and Artistry of Colorization
- Upscaling Resolution for Printing and Sharing
- Creating a Restoration Workflow by Combining Features
- Reviewing and Finalizing Your Restored Images
- The Final Check: Trusting Your Own Eyes
- How to Spot Common AI-Generated Artifacts
- Making Subtle Manual Adjustments for Authenticity
- Saving Your Work in the Correct Format
- Preserving Your Newly Restored Digital Memories
- Building a Digital Family Archive
- Implementing the 3-2-1 Backup Strategy
- Sharing Your Restored History with Loved Ones
Before digital cameras became a fixture in every pocket, memories were captured on film and printed on paper. These physical photographs, tucked away in albums and shoeboxes, are tangible links to our past. But paper is fragile. Over time, these cherished images fade, tear, and degrade, slowly obscuring the faces and moments we want to remember most. This guide will walk you through how to repair old photos at home, using modern tools to breathe new life into your most precious memories.
Identifying Common Types of Photo Damage
Before you can begin any restoration, you first need to understand what you're working with. Just like a doctor diagnoses an ailment before prescribing a treatment, identifying the specific type of damage on your photos is the first step toward a successful repair. Each issue tells a story about the photograph's journey through time, and recognizing them helps set clear expectations for the restoration process.
Physical Damage: Scratches, Tears, and Creases
Physical damage is the most obvious type of degradation. Think of a deep scratch across a portrait as a crack in a window; it disrupts the view and draws your attention away from the subject. Scratches can be fine, hairline marks or deep gouges that remove the photo's emulsion entirely. Tears and creases are even more destructive, creating sharp lines or missing pieces that break the continuity of the image. These imperfections are often the result of poor storage, frequent handling, or accidents over the decades.
Chemical Degradation: Fading, Discoloration, and Stains
Some of the most common damage happens slowly and silently. Chemical degradation is caused by exposure to light, humidity, and acidic materials in old photo albums. It’s a lot like a piece of colored fabric left out in the sun; the vibrant hues gradually wash out. Fading causes the entire image to lose contrast and appear muted. Discoloration often presents as a yellow or sepia tint that overtakes the original black and white tones. Stains from water, mold, or adhesive can also leave permanent marks that obscure important details.
Image Quality Issues: Blur, Noise, and Poor Focus
Not all damage happens after the photo is printed. Sometimes, the issue lies with the original image itself. It's important to distinguish between these problems. Blur is typically caused by movement, either from the subject or the person holding the camera, resulting in streaked or indistinct shapes. Poor focus, on the other hand, was a common issue with older cameras, where the lens simply wasn't sharp enough, leaving the entire image feeling soft. Finally, noise or grain is the speckled texture you see in many old photos, a natural byproduct of the film used at the time.
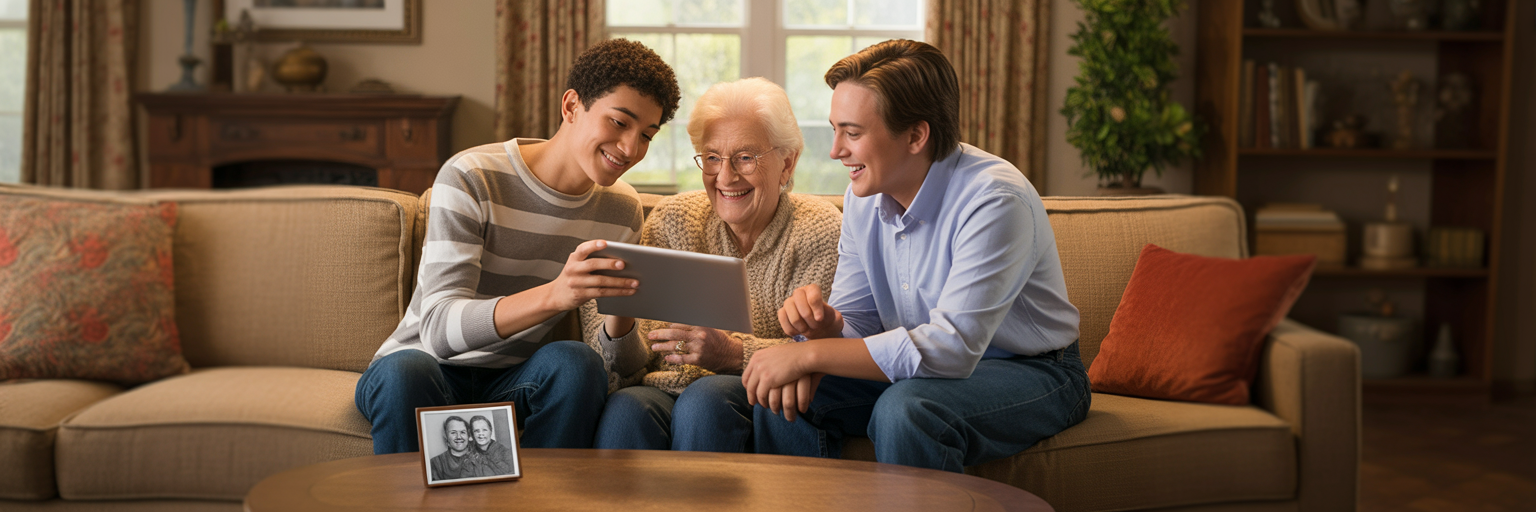
The Emotional Impact of Photo Degradation
A faded photograph is more than just a damaged piece of paper. It's a memory losing its clarity. When the face of a grandparent is hidden by a crease or the colors of a wedding photo have vanished, we feel a sense of loss. The details that connect us to that moment begin to disappear. The effort to restore damaged family portraits is not just a technical exercise; it's an act of preservation. By repairing these images, you are reclaiming a piece of your personal history and ensuring those stories can be passed down to the next generation. It’s about making sure those faces and moments are never forgotten, which is why we believe in the power to restore family photos and keep their stories alive.
Preparing Your Photos for Digital Restoration
The journey to a beautifully restored photo begins long before you open any software. The quality of your final result is almost entirely dependent on the quality of your initial scan. This is the moment your physical photograph becomes a digital file, and every detail you capture here will serve as the foundation for the entire restoration process. Think of it like building a house: a weak foundation will compromise everything you build on top of it. The same "garbage in, garbage out" principle applies here.
Why a High-Quality Scan Is Your Foundation
A low-resolution scan from a phone in a dimly lit room will never contain the detail needed for a great restoration. The AI needs as much information as possible to work its magic. A high-quality scan captures the subtle textures, tones, and details that are invisible to the naked eye but crucial for an AI to accurately reconstruct damaged areas. Taking the time to create a clean, sharp, and well-lit digital copy is the single most important step you can take to ensure a stunning final image.
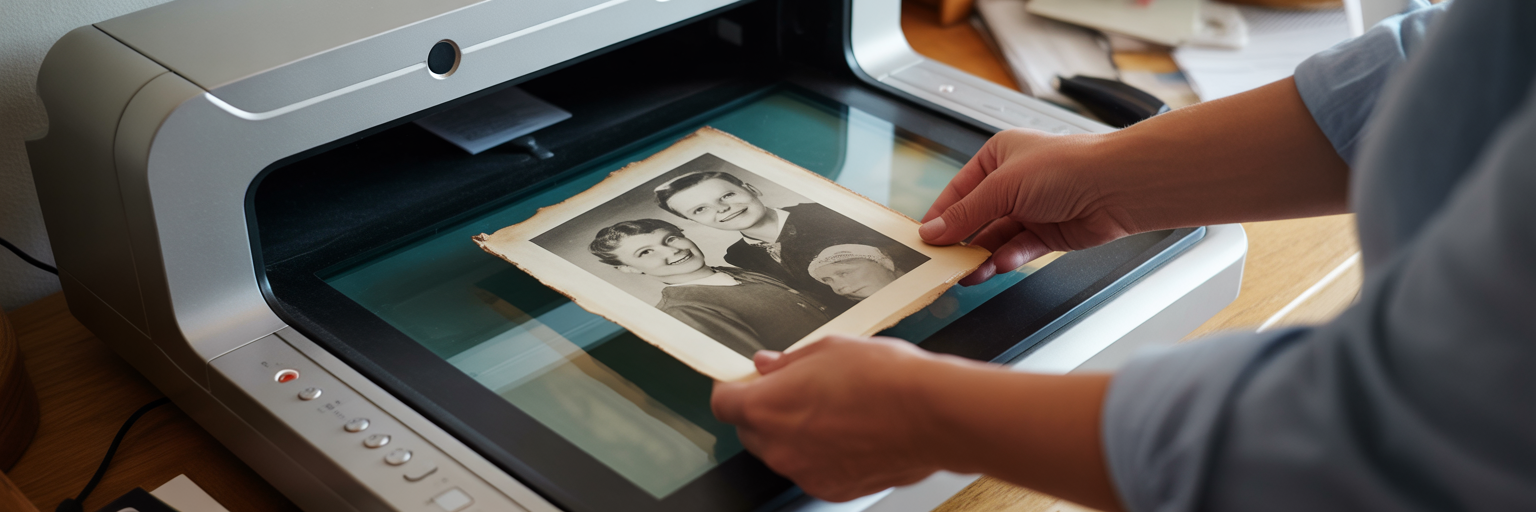
Choosing Your Scanning Method: Flatbed vs. App
You have two main options when you scan old photos for restoration: a traditional flatbed scanner or a modern smartphone app. Each has its own strengths and is suited for different goals. A flatbed scanner is the gold standard for archival quality, while a scanning app offers convenience for quick projects. Deciding which to use depends on what you plan to do with the final image.
Comparison of Home Scanning Methods | Feature | Flatbed Scanner | Smartphone Scanning App | | --- | --- | --- | | Detail & Resolution | Highest quality, captures fine textures | Good, but limited by phone camera and lighting | | Color Accuracy | Excellent, consistent color reproduction | Variable, highly dependent on ambient light | | Best For | Archiving entire collections, enlargements | Quick scans, sharing on social media | | Potential Issues | Can be slow, requires dedicated hardware | Glare, shadows, and perspective distortion |
Optimal Scanner Settings for Preserving Detail
Once you've chosen your method, you need to select the right settings. The most important setting is resolution, measured in DPI (dots per inch). Think of DPI as the number of pixels the scanner will capture for every inch of your photo. For most restoration projects, 300 DPI is a good minimum. However, if you plan to enlarge the photo for printing, we strongly recommend scanning at 600 DPI or higher to capture maximum detail.
You'll also need to choose a file format. A TIFF file is uncompressed, meaning it saves every single piece of data from the scan. It's the perfect choice for a master copy or "digital negative." A JPEG is a compressed file, which makes it smaller and easier to share. For restoration, always start with a TIFF if possible, or save your JPEG at the highest quality setting.
Best Practices for a Clean and Accurate Scan
Before you press the scan button, run through this quick checklist to avoid common mistakes and ensure you get the best possible digital copy:
- Clean your equipment. Use a microfiber cloth to wipe down the scanner glass and the surface of your photograph. Dust and smudges on either will show up in your scan.
- Align the photo carefully. Make sure the photo is placed straight on the scanner bed. While you can straighten it later with software, getting it right from the start saves time and preserves quality.
- Avoid direct light and glare. If using a scanning app, find a spot with bright, indirect light. Direct light or a flash will create reflections and uneven shadows that are difficult to remove.
- Capture the entire image. Don't crop out the borders or edges during the scan. Sometimes these areas contain useful information that an AI can use to better understand the image.
Choosing the Right AI Restoration Tool
With your high-quality digital scan ready, the next step is selecting the right tool for the job. The market for photo restoration has grown significantly, offering a range of options suited for different needs and skill levels. Your goal is to find an AI photo restoration tool that delivers excellent results without requiring a steep learning curve. The choice generally comes down to two main categories: fully automated platforms and more complex editing software.
Fully Automated Web-Based Platforms
For most people, especially beginners, a web-based platform is the ideal choice. These tools are designed for simplicity and speed. You simply upload your scanned photo, select the type of restoration you need, and let the AI do the work. The entire process often takes just a few seconds. These platforms are perfect if your goal is to quickly fix blurry old pictures or remove scratches without getting bogged down in technical settings. They are built on powerful AI models trained on millions of images, allowing them to produce professional-grade results with just a few clicks.
AI-Powered Photo Editing Software
The other option is traditional photo editing software that has integrated AI features. These programs offer more granular control over the restoration process, allowing you to make manual adjustments to the AI's output. While this control can be powerful, it also comes with a significant learning curve. This path is better suited for professional photographers or hobbyists who are already comfortable with layers, masks, and adjustment tools. For someone simply looking to restore a family album, the complexity can be overwhelming.
Essential Features Your AI Tool Should Have
When evaluating an AI restoration tool, look for a platform that offers a comprehensive set of features. A good tool should be a one-stop shop for the most common photo damage issues. Here is a checklist of essential capabilities:
- Scratch and Blemish Removal: The AI should intelligently identify and remove cracks, tears, and dust spots while preserving underlying details like skin texture.
- Blur and Noise Reduction: It must be able to sharpen soft edges and reduce film grain without creating an unnatural, plastic-like appearance.
- Color Correction and Enhancement: The tool should be able to correct fading and discoloration, restoring contrast and vibrancy to the original image.
- AI Colorization: For black and white photos, the ability to add realistic and context-aware color is a transformative feature.
- High-Resolution Output: Ensure the tool allows you to download the restored image in a high resolution suitable for printing.
Navigating Different Pricing Models
Understanding how you'll pay for a service is just as important as the features it offers. Most AI restoration tools operate on one of three models. Free trials are common, allowing you to test the service on a few photos to see the results for yourself. Subscription models charge a recurring monthly or annual fee for unlimited or a high volume of restorations, which is best for professionals. Finally, pay-as-you-go credits allow you to purchase a bundle of restorations upfront. This model is often the most cost-effective for personal projects, like restoring a single collection of family photos, as the credits typically never expire. We believe in letting you see the results first, which is why we offer a free photo restoration trial to get you started.
A Step-by-Step Process for AI-Powered Repair
Now it's time to bring everything together and walk through the actual restoration. Using a modern, automated AI tool makes this process surprisingly straightforward. The complex work happens behind the scenes, allowing you to focus on the results. Follow these steps to transform your damaged scan into a beautifully restored photograph.
- Upload Your High-Resolution Scan
Start by uploading the high-quality scan you prepared earlier. This is the raw material the AI will work with. Choose the TIFF file if you have one, or the highest-quality JPEG. A clean, detailed scan at this stage is non-negotiable for achieving a natural-looking result. - Repair Physical Damage First
The first priority is always to fix structural damage. Select the scratch removal or damage repair function. The AI will analyze the image, identify tears, creases, and scratches, and intelligently "inpaint" the missing areas. It does this by using information from the surrounding pixels to seamlessly fill in the gaps, much like a skilled art restorer would. This step is foundational, as it creates a clean canvas for all other enhancements. Our technology is specifically trained to remove scratches from photos while preserving the original facial features. - Correct Blur and Reduce Noise
Once the physical damage is gone, you can address image quality issues. This is where you can fix blurry old pictures. Select the sharpening or blur correction tool. The AI will work to define soft edges and reverse the effects of motion blur or poor focus. It's a delicate balance; the goal is to add clarity without introducing harsh, unnatural lines. At the same time, the noise reduction feature will smooth out the grainy texture of old film, giving the photo a cleaner, more modern look. - Enhance Colors and Contrast
With the structural and quality issues resolved, the next step is to bring the image's tones back to life. If your photo has faded or developed a yellow tint, use the color correction feature. The AI will analyze the histogram of the image and adjust the brightness, contrast, and color balance to restore its original richness. This can be one of the most dramatic steps, as it feels like a veil is being lifted from the photograph. - Evaluate the Result and Download
The final step is a critical one: review the AI's work. Zoom in and examine the details. Does the face look natural? Are important textures like hair and clothing still intact? A good restoration should be unnoticeable. It should look like the damage was never there, not like it was painted over. Once you are satisfied with the result, download the image in the highest resolution available.
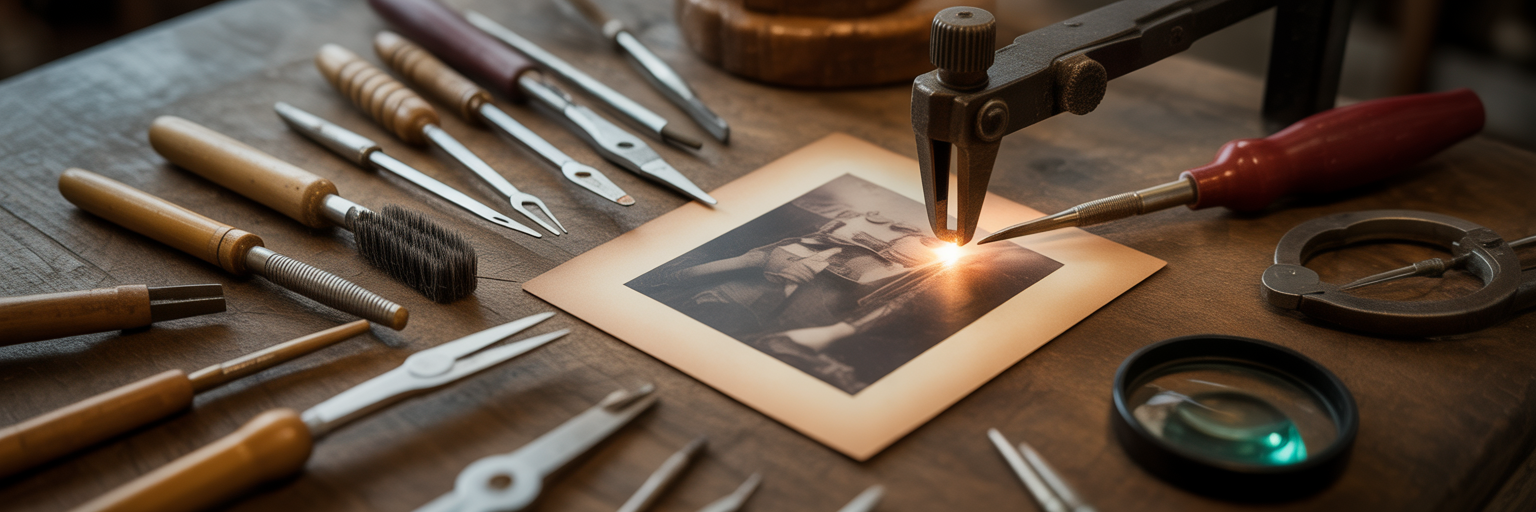
Beyond Repair: Advanced AI Enhancement Techniques
Once you've repaired the fundamental damage to your photos, you can explore more creative enhancements. Modern AI tools offer features that go beyond simple fixes, allowing you to add new life and value to your old images. These techniques are less about restoration and more about re-imagination, turning a simple repair project into an artistic endeavor.
Bringing History to Life with AI Colorization
One of the most exciting advancements in AI is the ability to colorize black and white photos. This feature uses a deep learning model trained on millions of color images to make an educated guess about the original colors in a scene. It understands that skies are typically blue, grass is green, and skin tones fall within a certain range. The result can be breathtaking, transforming a distant historical document into a vibrant, relatable moment. When you see a black and white photo of an ancestor in full color for the first time, it can feel like you're meeting them. Our platform includes one of the best AI photo colorizer tools available, designed to produce natural and historically plausible results.
Understanding the Limits and Artistry of Colorization
While AI colorization is powerful, it's important to view it as an artistic interpretation rather than a historical fact. The AI doesn't know the exact color of your great-grandmother's dress; it makes a logical assumption based on its training data. Sometimes it gets things wrong. However, the goal isn't perfect historical accuracy. It's about creating an emotional connection to the past. A well-colorized photo can evoke a mood and a sense of presence that a monochrome image sometimes cannot.
Upscaling Resolution for Printing and Sharing
Many old photos are small, and scanning them at a high DPI can only do so much. If you want to print a large copy of a restored photo, you'll need to increase its resolution. This is where AI upscaling comes in. Unlike traditional resizing, which simply stretches the existing pixels and makes the image blurry, AI upscaling intelligently adds new detail. It's like an artist studying a small sketch and then painting a larger, more detailed version. As highlighted in a guide from How-To Geek, modern AI can effectively handle upscaling, restoration, and colorization, often within a single, user-friendly platform.
Creating a Restoration Workflow by Combining Features
To get the best results, it's helpful to apply these enhancements in a logical order. Applying them randomly can cause the AI processes to interfere with each other. A recommended workflow is:
- Repair Damage: Always start by removing scratches, tears, and other physical flaws.
- Enhance Sharpness: Next, correct any blur or focus issues to create a clear base image.
- Colorize: Finally, apply colorization to the clean, sharp, and repaired image.
Following this sequence ensures that each step builds upon a solid foundation, leading to a more cohesive and professional-looking final product.
Reviewing and Finalizing Your Restored Images

The AI has done its part, but the restoration process isn't complete until you've given it the final human touch. Technology can repair pixels, but only you can judge whether the restored image feels right. Your personal connection to the photograph is the ultimate measure of success. This final review is about ensuring the soul of the image remains intact.
The Final Check: Trusting Your Own Eyes
Set aside the technical aspects for a moment and look at the photo. Does the person in the portrait still look like them? Does their expression feel authentic? Sometimes an AI can over-process an image, making it technically perfect but emotionally sterile. The goal is restoration, not reinvention. Compare the restored version to the original scan side-by-side. The best restorations are those that look so natural you forget they were ever damaged.
How to Spot Common AI-Generated Artifacts
While AI is incredibly advanced, it can sometimes leave behind subtle clues of its work. Knowing what to look for can help you spot areas that might need a second look. Watch out for:
- Overly smooth skin: AI can sometimes smooth out skin texture too much, removing natural pores and lines, which can make a face look like plastic.
- Unusual patterns: In heavily damaged areas, the AI might generate repetitive or strange-looking textures in backgrounds or clothing.
- Inconsistent details: Check for things like mismatched eyes or strange shapes in complex areas like hair or foliage.
Making Subtle Manual Adjustments for Authenticity
If your chosen tool allows for it, small manual adjustments can make a big difference. You don't need to be a photo editing expert. Simple tweaks to brightness or contrast can often restore a more authentic, film-like feel to an image that the AI has made a little too clean. Adding back a tiny amount of grain can also make a photo feel less digital and more true to its era.
Saving Your Work in the Correct Format
Once you are happy with the final image, it's crucial to save it correctly. Think of this as creating a new digital master copy. For your archival version, save the photo as a TIFF or a high-quality PNG. These are "lossless" formats that preserve every detail without compression. This is your new "digital negative." For sharing online, via email, or on social media, save a separate copy as a high-quality JPEG. JPEGs are smaller and load faster, making them perfect for everyday use.
Preserving Your Newly Restored Digital Memories
You've successfully brought a piece of your history back to life. The final step is to ensure that your hard work and these precious memories are protected for generations to come. Digital files are more durable than paper, but they are not immune to loss. A proactive approach to preservation is key.
Building a Digital Family Archive
Don't let your newly restored photos get lost in a random folder on your desktop. Create a dedicated digital archive. Organize your photos into folders by year, event, or family branch. Use descriptive filenames that include dates, names, and locations (e.g., "Smith-Family-Reunion-1968-01.tiff"). This simple organization makes it easy to find specific images later and transforms a collection of files into a searchable family history.
Implementing the 3-2-1 Backup Strategy
For truly secure preservation, professionals rely on the 3-2-1 backup strategy. It's simple and incredibly effective. The strategy is:
- Have at least three copies of your data.
- Store the copies on two different types of media (e.g., an external hard drive and cloud storage).
- Keep one copy off-site to protect against local disasters like fire or theft.
This approach ensures that no single event can wipe out your entire digital archive. It might sound like a lot, but with modern cloud storage and affordable external drives, it's easier than ever to implement.
Sharing Your Restored History with Loved Ones
The ultimate purpose of restoring these photos is to share them. The joy of seeing a forgotten moment in perfect clarity is a gift that connects generations. Consider these ideas for sharing your work:
- Create a photo book for a family reunion or a milestone birthday.
- Make a digital slideshow set to music for an anniversary celebration.
- Print and frame a beautifully restored portrait as a meaningful holiday gift.
- Share on a private family blog or social media group to spark conversations and gather more stories about the photos.
By taking these steps, you are not just saving a file; you are continuing a legacy. The ability to enhance old photos is about more than technology; it's about strengthening the bonds of family and ensuring that the faces of the past remain clear for the future.
Keep reading


